Are you planning to repaint your RV exterior? Do you want all the required information to avoid any mistakes? If yes, you can consider going through the following article.
It will address all your concerns related to repainting an RV exterior. We will cover tools, costs, and step-by-step instructions. Keep reading if you want to repaint your RV exterior like a pro.
CAN YOU PAINT RV EXTERIOR?
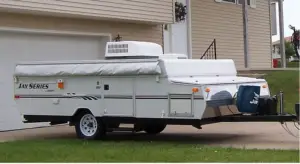
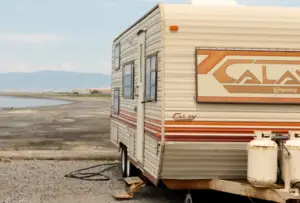
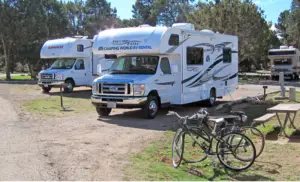
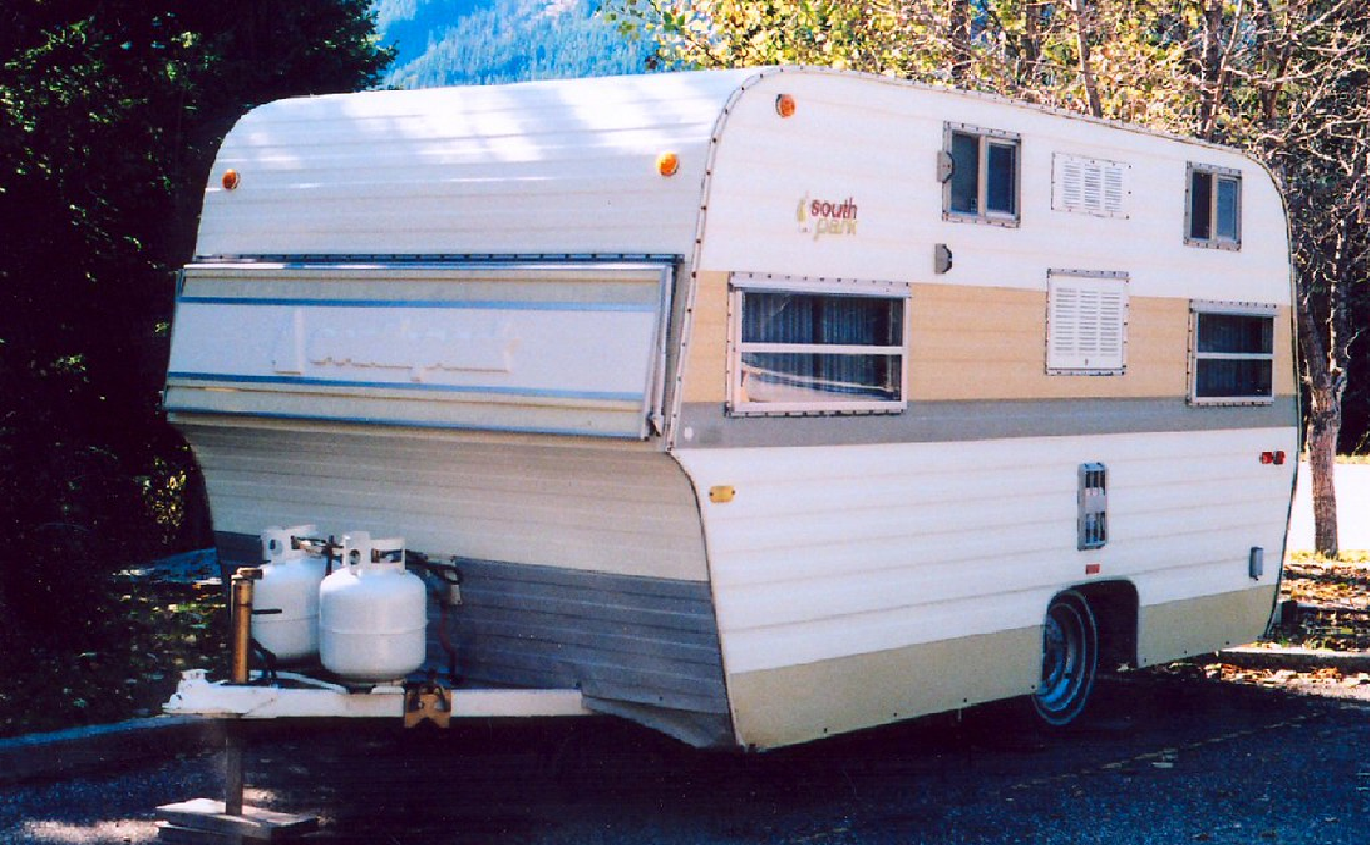
Yes, you can repaint the RV exterior. You can repaint both fiberglass and aluminum materials. However, you will have to do a bit of research. If you start painting without adequate preparation, you might impact the look adversely.
First, you will have to park your vehicle in a well-ventilated and shady space. Make sure that you have all the tools ready for the repainting job. Clean the exterior to remove the dust, mud, bird droppings, and grime.
If needed, you can use a ladder to access the rooftop. In the following, we will cover step-by-step instructions for your better understanding.
THINGS NEEDED TO PAINT RV EXTERIOR
For painting, you will need color paint, primer paint, brush, and a few tools based on your painting needs. It is worth mentioning that you will have to use different types of paints for fiberglass and metal.
Therefore, you will have to understand the material of the RV exterior before buying the paints and tools. You can have some grits of sandpaper and automotive body fillers. You will need all these things during repainting to give a fresh and new look to your RV. You can also consider having a compressor and a spray gun.
In addition to all these, you can buy painter’s tape, microfiber cloth, masking paper, scuff pads, decal removal tools, and acetone.
TYPE OF THE PAINT TO USE
As mentioned above, you will need different types of paints based on the material. First, you can use a good primer. You can do this to prevent any complications. You do not know how the paint will adhere to the surface.
While painting over the aluminum, you will need a primer designed for metal applications. After applying the primer, you can use the paint.
For the fiberglass material, you can use gloss, high-gloss, and matt finish. You will have the options in polyester, acrylic, epoxy, or polyurethane. All these can offer an all-weather resistant and firm finish.
However, you will have to make sure that it does not have oil or melamine. For the aluminum exterior, you can use oil-based or acrylic latex paints. When it comes to the tool, you can use a sprayer for the painting.
However, you will have to give enough time for drying up after painting.
COST OF THE REPAINTING
On average, you will have to pay between $5,000 and $15,000. You will have to pay this much for a standard RV. The cost will vary based on the length of the RV, the location, and the type of paint. If you hire professionals for repainting, you will have to spend on them as well.
The cost will include the preparation work. You might find the figure high. But once you start the prep work, you will be aware of all the related costs.
In brief, we can say that the average costs for repainting an RV exterior by professionals will be somewhere between $8,000 and $10,000. If you want to minimize the repainting costs, you can consider a DIY job. However, you will need thorough research before going ahead.
TIME NEEDED FOR REPAINTING
The time will vary based on the material. Mostly, RV exteriors come with fiberglass. Painting this material is time-consuming.
Also, it will demand a lot of effort. However, you can break the process into a few steps to know the exact time you need to spend on the painting. If you find it hard to do all the stuff in one day, you can consider taking a few days.
You can take a break for some time and start again. In brief, it might take a few days to repaint an RV exterior. You might need three to four days or even more based on the steps involved in repainting.
STEP-BY-STEP INSTRUCTIONS
As mentioned earlier, the process will demand time and effort. You will have to remove decals, and then you will have to wash your RV. After these, you will have to cover the windows.
Once done, you can repaint the exterior. Before going ahead with the painting, you will have to understand the process. You should know all the steps and the sequence.
Otherwise, you might not feel confident. Also, you cannot expect the best outcome. Let’s make it easier with the following steps.
STEP ONE: GET THE TOOLS
Prepare a list of all the tools and keep them ready for the painting day. As we know, you will need primer paint, paint thinner, and a few other things to start the repainting job. Make sure that you have everything with you before planning for repainting.
STEP TWO: WASH THE EXTERIOR
Now you will have to wash the exterior. You need to remove all the dirt and grime. You will have to clean all the decals before applying the paint.
It is worth mentioning that you should never try to paint without removing decals. If you want, you can also consider having a decal removal tool. It will make the job easier for you.
Also, you can use a heat gun to melt the decal. It will make the removal easy. After this, you can use a cloth to clean all the residues of the decal.
STEP THREE: CAULK & MASK OFF
After washing, you will have to ensure that there is no crack or gap in joints. If you notice any gaps, you will have to reseal them.
After resealing the gaps, you will have to mask all those areas you do not want to paint. For this, you can use masking papers. The paper can cover large areas.
STEP FOUR: SAND & WIPE DOWN
Once you have sealed gaps and covered unwanted areas, you can sand down the area you want to repaint. You can use a sanding block to sand the exterior. It will make the surface smooth and prepare for repainting.
After this, you can wipe down the RV exterior using a microfiber cloth and acetone. The process will remove any residue that can cause challenges during adhesion. Use the microfiber cloth to clean the area again.
STEP FIVE: PAINT THE EXTERIOR
Now you can use a paint sprayer to apply one primer coat. It will help in proper adhesion. Also, it will prepare the surface for good coverage.
Additionally, you will have to avoid painting your RV exterior under direct sunlight. The same is about windy days. Next, you can use the paint sprayer to apply one paint coat. You will have to paint in horizontal movements.
After the first coat, allow it to dry up. Once dried up, you can use a scuff pad to scuff the surface. After this, wipe down the surface again using a clean damp cloth. The process will remove all the dust and dirt particles.
STEP SIX: RECOAT & CLEAR COAT
You will have to apply one more coat of paint. If you find that the first paint is uneven, you will have to scuff it again after drying up. You can apply another coat to get an even appearance.
Use the paint sprayer to apply a clear coat. It will give a refreshed look to your paint. Also, it will prevent fading and chipping.
FINAL STEP: REMOVE TAPE & MASKING PAPER
After applying the clear coat, you can remove the masking paper and tape. Allow the paint to dry up, and then you can buff the surface. In the end, you will appreciate the look and feel of your RV.
CAN YOU DO IT YOURSELF?
Yes, you can consider a DIY job if you are confident about the process. The benefit of the DIY job is that you can save on professionals.
However, you will have to buy all the tools. But you can keep them for future use. It is up to you to decide what you want. If you are thorough about the process, you can go ahead. But you will need proper preparation before going ahead.
DO YOU NEED TO HIRE PROFESSIONALS?
Yes, you can hire professionals. The benefit is that you will not have to spend on tools.
Also, you will not have to spend your time and effort on repainting. Once you hire professionals for this job, you will not have to worry about the process. Also, you can expect the best outcome.
They know how to repaint an RV, and they can complete the job effortlessly and fast with an excellent look. The downside is that you will have to spend on professionals.
WRAPPING IT UP
Painting can give a new look to your RV. Apart from that, the painting will extend the life of an RV. However, painting might be a daunting task if you do it on your own. But you will love the outcome. Also, you can hire professionals. They can do it fast and transform the look of your RV.