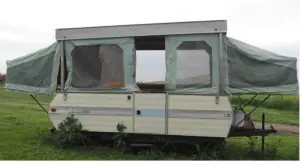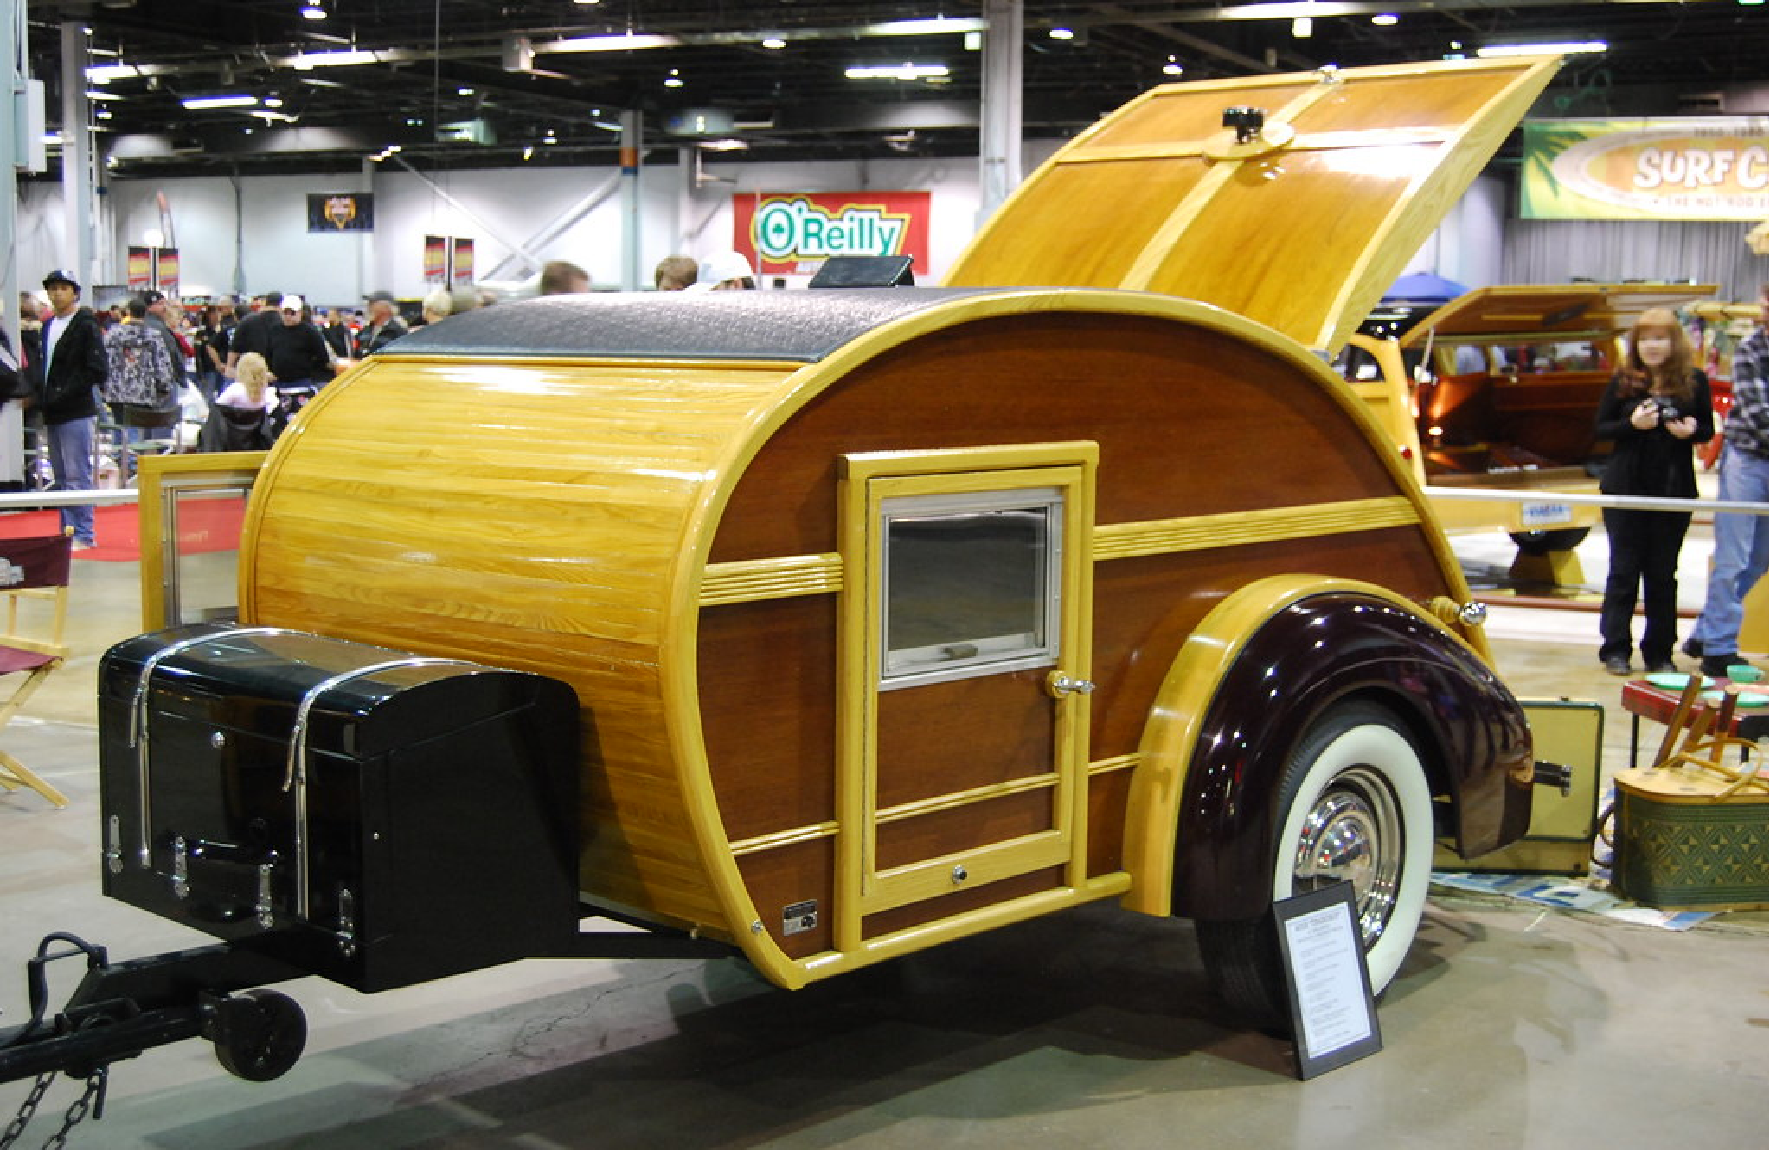
A teardrop trailer is a small camping trailer shaped like a teardrop. These trailers are popular among campers because they are lightweight and easy to tow.
You can build a DIY teardrop trailer relatively quickly and cheaply, making it an excellent option for those who enjoy camping but do not want to invest in a full-sized RV.
Can you build a DIY Teardrop Trailer?
You can build a teardrop trailer yourself with some basic carpentry skills. It is vital to have a plan and gather all of the necessary supplies before beginning, but the process is not overly complex.
The ease of building a teardrop trailer varies depending on the size and complexity of your design.
Cost
The cost of building a teardrop trailer will vary depending on the materials you use, but it is possible to make one for under $1000. If you choose to purchase a kit or have someone build it for you, the cost will be higher.
The price of a teardrop trailer can also vary depending on the features you include, such as electric brakes, air conditioning, or a custom paint job. It is essential to consider what features are most important to you before beginning the build.
How to build it
You can build your teardrop trailer from scratch, but it’s not necessarily easy. It will require some time, effort, and materials, but it can be done. The cost of building a teardrop trailer will vary depending on the materials you use and how much work you’re willing to do yourself, but it can be done relatively cheaply.
If you’re interested in building your teardrop trailer, there are a few things you’ll need to get started.
First, you’ll need some plans or instructions. You can find these online or in some DIY books.
Second, you’ll need the materials to build the trailer. These will include things like wood, metal, screws, nails, etc. Third, you’ll need some tools to help you build the trailer. Things like saws, hammers, screws, and so on.
Once you have all of the necessary materials and tools, you’ll need to follow the instructions or plans to build the trailer.
This can be tricky, so it’s essential to take your time and ensure everything is done correctly. Once the trailer is created, you’ll need to add the finishing touches. This can include things like painting, adding decals, and so on. Below are the steps to building a teardrop trailer from scratch.
1. Building The Foundation
You will need to start by building the foundation of your trailer. This can be done using a steel or aluminum frame. Make sure that the frame is strong enough to support the trailer’s weight. You will also need to add support to the frame to keep it level.
Make sure you inspect the wheel bearings and brakes before you start to build the trailer to make sure that there is no rust.
That will also ensure you check for functionality, as it will be difficult to change later. Ensuring the frame is level is vital as it will be the base for the rest of the trailer.
2. Constructing the base
After the frame is complete, you will need to add plywood to the trailer’s base. This will be your flooring. Make sure that the plywood is of good quality and thickness. It should be able to support the trailer’s weight and anything you might put inside it.
Once the plywood is in place, you can add insulation to keep the heat in and the cold out. Please make sure you use undercoating below the trailer as it will help protect it from the elements.
The kind of insulation you use will depend on the climate you will be traveling in. Make sure you consult with an expert to get the best advice.
3. Assembling the walls
The walls of the trailer can be made out of aluminum or fiberglass. If you are using aluminum, make sure that it is thick enough to support the trailer’s weight.
Fiberglass is a lighter material, but it is not as durable as aluminum. You will need to assemble the walls of the trailer before you attach them to the frame.
Make sure that the walls are level and square before you attach them. You can use screws or rivets to attach the walls to the frame. Don’t forget to cut the door hole as you assemble the walls.
4. Installing the roof
The trailer’s roof is one of the most critical parts, as it will protect you from the elements while you are camping.
There are a few different ways to install the roof, and the method you choose will depend on the materials you are using. If you are using metal sheets, you will need to rivet them together to create a watertight seal.
You can also use Weldbond or another type of adhesive to attach the metal sheets. If you use wood, you will need to use screws or nails to attach the boards.
Once the roof is assembled, you will need to install the rain gutter. This will ensure that water does not collect on the roof and cause problems. You can purchase a rain gutter at most hardware stores.
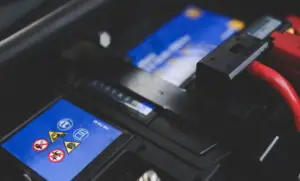
5. Wiring the Teardrop
You will need to wire the teardrop trailer to ensure all the lights and electrical components are connected and functioning correctly. It is best to consult with a professional electrician to help you with this task, as improper wiring can be dangerous.
To wire the teardrop, you will need the following materials:
- Wire
- Electrical tape
- Electrical connectors
- Wire cutters
- Wire strippers
Start by running the length of wire from the battery’s positive terminal to the first light.
Use the wire strippers to strip away a small insulation section from the end of the wire.
Wrap the bare wire around the light’s positive terminal, and then secure it in place with electrical tape.
Repeat this process for each light, connecting the wire to the negative terminal of the previous light before moving on to the next one.
Once all the lights are wired, you can connect the wire to the battery’s negative terminal.
Finally, use electrical tape or wire connectors to secure all the connections and prevent any bare wires from touching each other.
This process may seem daunting, but it is quite simple once you have all the materials and know what to do.
If you are unsure about anything, it is always best to consult with a professional electrician. With their help, you will be able to wire your teardrop trailer safely and correctly.
6. Rear Door
The next step is to build the door for the back of the trailer. You will need some plywood and a few 2x4s to create a frame. The door will be hinged on the side of the trailer and will swing open.
You can use a simple latch to keep it closed. Building the door is not difficult, but you will need to take your time to make sure everything is square and level.
Once the door is built, you can attach it to the trailer using hinges, screws, and nails. Ensure the door is properly sealed and weatherproofed to keep the elements out.
7. Insulating the camper
N/B: All the measurements below can be changed to accommodate the size of your teardrop trailer
Materials needed:
R-13 fiberglass insulation, R-7 foam core insulation, 1/2″ and 3/4″ plywood, 1″ x2″ lumber, Luan mahogany plywood, (4) 8-foot lengths of 2″ x4″ lumber, (2) 4-foot lengths of 2″ x4″ lumber, (1) 8-foot length of 1″ x3″ lumber, (4) 2″ x4″ studs,
Tools needed:
Tape measure, Pencil, Safety glasses, ear protection, Knee pads, Utility knife, Jigsaw, Drill, 3/8″ drill bit, 1 1/2″ hole saw, Countersink bit, Hammer, Nail set, Square, Level, Chalk line, Circular saw, Combination square
- Begin by measuring and cutting the plywood and lumber to size according to the cut list.
- Next, use the jigsaw to cut out the door and window openings in the plywood.
- Drill 3/8″ pilot holes and countersink the holes before attaching the plywood to the framing with 2″ screws.
- Fill the holes with wood filler and let them dry.
- Once the filler is dry, sand the surfaces smoothly.
- Now it’s time to insulate the camper. Start by attaching the R-13 fiberglass insulation to the walls with 1″ screws.
- Next, attach the R-7 foam core insulation to the ceiling with 1″ screws.
- Finally, attach the Luan mahogany plywood to the walls and ceiling with 1″ screws.
- Your camper is now insulated and ready for the exterior siding.
- To install the siding, start by attaching the 1″ x2″ lumber to the bottom of the camper with 1″ screws.
- Next, attach the 8-foot lengths of 2″ x4″ lumber to the top and bottom of the camper.
- Finally, attach the 4-foot lengths of 2″ x4″ lumber to the sides of the camper.
- Your camper is now ready for the exterior siding.
- To install the siding, start by attaching the 1″ x3″ lumber to the bottom of the camper with 1″ screws.
- Next, attach the 8-foot lengths of 2″ x4″ lumber to the top and bottom of the camper.
- Finally, attach the 4-foot lengths of 2″ x4″ lumber to the sides of the camper.
- Your camper is now ready for the final touches.
- Final Touches
After you’ve built your teardrop trailer according to the instructions in this guide, it’s time for the final touches. Here are some things you’ll need to do before you can hit the road:
- Install the Wheels and Tires: The first thing you’ll need to do is install the wheels and tires. You can purchase these at any local automotive store. Be sure to get the right size for your trailer.
- Hook up the Electrical: The next thing you’ll need to do is hook up the electrical. You’ll need to connect your battery’s positive and negative terminals to the correct wires. Then, you’ll need to connect the wires to your lights. Be sure to use the proper size wire for your amperage rating.
- Install the Axle: The next thing you’ll need to do is install the axle. This is a simple process, but be sure to follow the instructions with your axle kit.
- Hook up the Brakes: The next thing you’ll need to do is hook up the brakes. You’ll need to connect the brake lines from your vehicle to the correct wires on your trailer. Be sure to use the proper size line for your amperage rating.
- Install the Hitch: The next thing you’ll need to do is install the hitch. This is a simple process, but be sure to follow the instructions with your hitch kit.
- That’s it! You’re now ready to hit the road with your new teardrop trailer!
Can your order a custom teardrop trailer
Yes, you can. Many companies specialize in custom teardrop trailers. You can also find kits to build your teardrop trailer.
These kits usually include everything you need to build the trailer, including the plans. The cost of a custom teardrop trailer will vary depending on the company you order it from and the features you want.
The cost of a kit to build your teardrop trailer will also vary, depending on the quality of the materials and the features you want.
Teardrop Kits
You can indeed purchase teardrop kits, which typically include everything you need to build a functioning trailer.
These can be particularly helpful if you’re not confident in your ability to build one from scratch. That said, kits can be more expensive than building a teardrop trailer yourself. You’ll also need to factor in the cost of tools and materials if you don’t already have them.
Conclusion
Building a teardrop trailer from scratch can be a rewarding experience. You will save money, but you’ll also have the satisfaction of knowing you built it yourself.
Anyone can build a teardrop trailer with a little patience and elbow grease. Just be sure to follow the instructions in this guide carefully, and you’ll be on the road in no time.