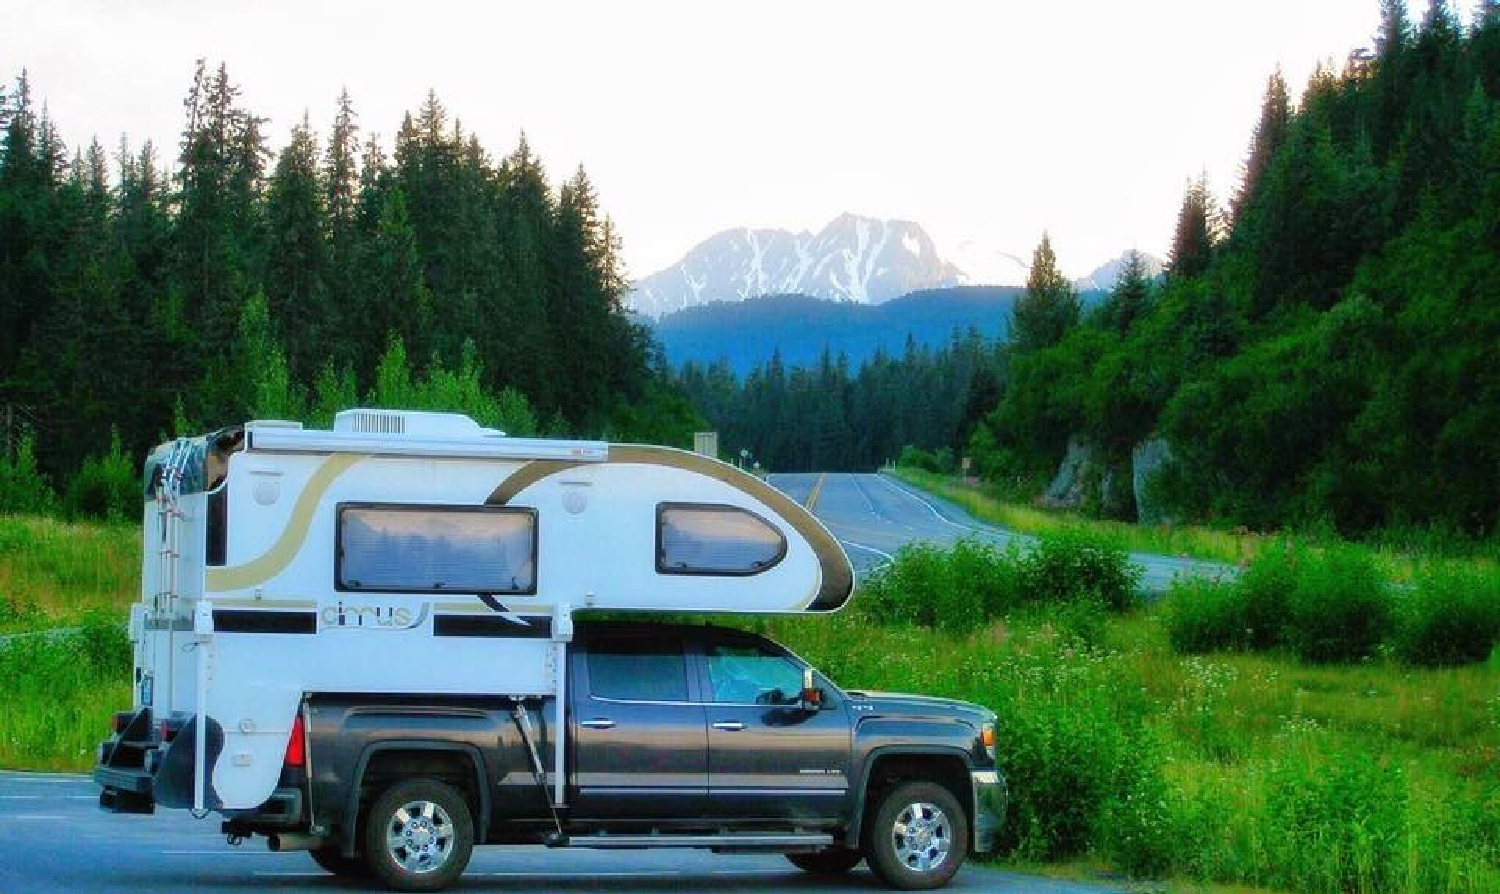
The idea of converting a truck bed into a camper surely seems to be a super cool affair! It works as a budget-friendly alternative to an RV and lets you hit the road without much hassle.
However, going places with your truck camper often involves traveling in different weather conditions, some of which might also get a bit harsh and end up making the truck a chilly space.
What comes to the rescue is a DIY truck camper insulation. Here’s your complete guide to insulating your truck camper for a 4-season travel.
Why Insulate a Truck Camper
Some truck campers are designed to withstand cold weather better than others, while some don’t provide ample of insulation to keep the insides of the vehicle cozy enough.
As the weather gets cold, the air gaps in the camper shells, the floor, the ceiling and the windows are likely to experience condensation, thereby making the interiors reach quite low temperatures that can get uncomfortable.
If you are planning to use your truck camper all year long or simply want to travel during the chilly months, you must have a well-insulated camper.
Can you Insulate a Truck Camper
Yes! You can insulate a truck camper and ensure that it doesn’t allow heat to escape when it’s needed.
You can get that done using different types of insulation materials and different methods, following a simple procedure and a bunch of tips. No matter what’s the dimension of your camper, you can turn it into a warm travel trailer with surprising ease.
Do Truck Campers Come With Insulation Initially?
Nowadays, almost all truck campers come fitted with some sort of insulation, but many of them feature thin layers of insulation that aren’t enough when it comes to keeping the interiors warm and comfortable.
Moreover, different camper shells come with different degrees of insulation determined by the material of their construction, including metal, canvas, and fiberglass. The most popular ones, fiberglass shells are highly customizable and offer better insulation than metal campers.
Speaking of metal truck camper shells, the newer models out there feature protective coatings prevent rusting, but can be a problem when the weather is too hot.
Canvas shells are not apt for heavy-duty use, but they can be insulated. However, the insulation on them needs to be lightweight and removable. It comes with a low insulation rating and is perfect only for recreational use.
How to Insulate a Truck Camper
Scroll down to learn how you can insulate a truck camper and make it suitable for different weather conditions. Right from the steps to the different material options as well as a few tips that may come in handy, we have got you covered.
STEPS
Below are the detailed step by step instructions to insulate your truck camper all by yourself with some easily available supplies.
Choose Suitable Insulation Material
Select the right insulation material with good R-value, which is based on the ability of an insulation material to restrict heat flow. Also known as R-rating, it determines the power of the material to allow the air within a specified space to maintain a specific temperature by retaining cool or warm air.
Materials with a higher R-value provide a better insulation. Whatever material you go for, always apply a layer of Reflectix and adhere it in place using a quality spray adhesive.
Take Precise Measurements of your Truck Camper
Taking proper measurements of your truck camper is crucial to determining how much insulation and other material is required to get started with the process. You need to measure the walls, the floor, the windows and the ceiling rightly from one end to another.
Gather the Insulation and Other Tools
Of course, the chief supply for this project is the insulation material you are choosing, you need a handful of some other tools to get the task done. You are going to need :
- A saw
- Tape measure
- A scale
- A marker
- Utility knife
- Plywood
- Expanding foam
- Liquid nails
- A Strong adhesive
- Screws
- Duct tape
- Moisture barrier
- A power drill
- A wire wheel
- Carpet or therma wrap (optional)
Clean the Truck Camper Shell
Before heading to working up the insulation inside your camper, you need to check for any parts that need to be cleaned or any rusty spots that should be fixed.
Use a wire wheel to grind away all those rusty patches of rust, while patching big holes using some patch weld. If your camper shell is constructed in fiberglass, you can use a fiberglass repair kit to eliminate all those cracks and holes.
What works wonders for sealing unwanted cavities is spray foam or expanding foam. You can also put the foam around your camper’s windows for an extra weather seal.
Use a utility knife to trim the extra foam after it cures completely. Another thing to make sure is to repair or replace any damaged or missing weather stripping on your truck camper shell, specially around its windows. Damaged or missing stripping allows heat to enter or escape by creating unwanted air gaps.
Manage the Camper’s Electrical Systems
It can be quite a menace to work around the insulation without managing all those electric wires inside the truck camper beforehand.
The wires need to go behind the insulation boards, and that’s why must be managed early on to prevent trouble after you have already nailed the plywood in.
Install Sound Deadening (If Upgrading an Old Vehicle)
While most modern truck campers come with appropriate sound deadening, you may need to install the same if you are planning to insulate an older vehicle that’s not pre-equipped with sound deadening.
All it takes is to peel the same and adhere to the inside metal work of your truck camper. Sound deadening minimizes all sounds and vibrations coming through the camper’s shell, and you need to stick it to the floor and the walls before you work up the insulation.
Install The Insulation
Now comes the part where you start laying and adhering the insulation material on the various surfaces of your truck camper. The idea is to simply cut out the parts of the insulation into the sizes of the sections that you’d like to insulate, further placing them block-by-block.
If the pieces don’t seem to stay in place, you can always use a nice adhesive spray or place them using tape. Two sections of insulation can also be taped together.
Some people like to use a carpet or therma wrap for the floor, along with the insulation material to help keep the cold out and make the surface more comfortable for the feet.
The carpet, the insulation and the plywood together keep the camper very warm at night. Your floor will have big panels of insulation and you will witness tiny bits sliding around soon.
It’s recommended to place down some wooden battens for support and to section out the insulation, while also letting you nail down the plywood over the insulation later.
Use Expanding Foam for Small Areas
Your insulation sheets always have some gaps which must be filled using some expanding foams. However, make sure you don’t end up filling the holes that are meant for electric wires to pass through.
The expanding foam doesn’t not fill any unwanted gaps, but also sticks the insulation material in perfect place. Once done, allow the foam to solidify by leaving it untouched for a few hours.
Add the Flooring
Once you have all the measurements of the camper flooring on hand, it’s time to cut out panels of the plywood that match the floor space just right. Next, you can simply drill the plywood sheets into the wooden battens or through the insulation for small campers. Make sure you don’t over-nail the flooring.
Pay Attention to the Extra Bits
Make sure to pay attention to the windows, electric ports, lights and other ventilation spots in the ceiling or walls.
While you are installing the plywood, make cutouts wherever required to keep any ventilation spots and windows cut out to simply place the plywood sheets over.
Making these cut-outs prior to nailing the pieces down saves a great deal of hassle later. Also, use the moisture barrier before you install the walls, putting it between the plywood and the insulation by sticking it on with tape before working up the plywood walls.
Add Plywood Walls
Adding plywood walls inside your truck camper works quite similar to the flooring, but it calls for building a wooden rib cage for the camper.
It is worked up using thick wooden beams that are nailed to the camper’s metal frame to further adhere the plywood to. Each part of the wooden rib-cage can be placed at a distance of 1ft-6ft apart.
Once the rib cage is done on each side of the camper, drill in the plywood sheets, followed by sealing the same.
Add the Finishing Touches
Once you are done with installing the insulation properly, make sure to inspect the surfaces for tiny spots that are left. Seal those spots as well as all the seams using some construction grade joint tape or duct tape.
INSULATION MATERIAL
There’s a spectrum of insulation materials out there to choose from. Each material comes with its own insulating strength and properties. which makes them suit different camper shells.
Some people also choose to go for a combination of more than one insulation materials to achieve a stronger insulation rating. Below are the chief insulation material you can go for.
1. Styrofoam
Styrofoam or foam-board insulation is perhaps, the most popular insulation employed in truck camper walls and ceilings. It comes in the form of different-sized foam sheets or panels that are resistant to both water and fire.
This is especially beneficial for camper walls as it makes your vehicle less susceptible to damages from condensation. This type of insulation ranges in R-values from 5 to 20, wherein a well-insulated camper usually has an R-value of 10 for its walls and 20 for the ceiling.
2. Fiberglass Insulation
Another great choice, fiberglass insulation ranges between a rating of R-11 and R-15. However, fiberglass is irritable on the skin and calls for putting some cover over the insulation to avoid unwanted contact. It’s quite easy to install and is employed by many older campers for the walls and ceilings.
Fiberglass is a budget-friendly material, but also comes with a few drawbacks. It does not hold up in wet weather and the camper may experience a little water infiltration over time. The material is also prone to moisture buildup caused by condensation, while also being
susceptible to mold, which can only be fixed by replacing the insulation.
3. Mineral Wool Insulation
While mineral wool falls under the fiberglass group, the fibers on this type of insulation are not made from glass.
The fact that it has an R-value higher than fiberglass makes mineral wool a better insulation material. It’s a porous material that traps air very efficiently and that’s why it provides superior insulation.
4. Natural Fiber Insulation
This form of insulation is perfect for those who are a bit eco-conscious and prefer going for sustainable, natural material for insulating their camper. It is further divided into denim insulation and wool insulation.
Denim insulation is a great fibrous option crafted from no-itch cotton, denim and natural fibers. Wool is an equally sustainable material that can absorb and release moisture naturally at a higher rate than most artificially-crafted materials.
5. Reflectix
Reflectix doesn’t actually serve the purpose of insulation as it comes with a rating of R-1. However, it is used as a great radiant and moisture barrier. It provides an added protection to the camper before adhering other insulation material.
6. Spray Foam
Spray foam insulation is crafted by combining 2 chemicals that harden after their application. It’s a very efficient insulation material as it can reach every little corner of your camper. However, you must apply plywood over spray foam immediately so it will hold as the foam expands.
COST
Getting your truck caper insulated all by yourself isn’t really an expensive deal. While fiberglass comes quite cheap, it’s advised to go for foam-board to make things last much longer.
You can fully insulate your van with foam board in a budget ranging from $150 to $250. The exact amount is determined by the specific size of your camper. The estimate includes the cost of insulation material, along with the tools and gears that you are going to need to pull off the steps.
TIPS
While insulating your truck camper is all about cutting the insulation material and adhering it in place, there may be slight differences in the installation depending on the material of the insulation. Here are a few installation tips to make things easier.
- If you are applying fiberglass insulation, always have the fibrous side of the sheet facing inward. Also, make sure to protect your skin by covering your face and arms while working with fiberglass insulation.
- If you are using rigid Styrofoam, score the back of the foam-board to mold it to the camper’s curvature. You can try cutting it into smaller pieces and use a spray adhesive or construction adhesive to stick the foam.
- Layering the insulation material helps in increasing the R-value and assists moisture control.
- You can also leave some tiny air gaps between the different insulation layers to trap air and stay warm during those cold nights.
If you are planning to get a truck camper, make sure you go for a model that comes with sufficient insulation. However, if it doesn’t, you can always employ the aforesaid steps and handy tips to line the camper shell with the right level of insulation that you find comforting enough for all-season travels.
All it takes is to clean your van, measure the surfaces, cut the insulation material into the right sizes and get started with adhering the boards in perfect place, and voila!


