Air Conditioning units (AC) on RV’s can be a great asset for those that spend a lot of time in them. But, on some occasions, some sort of deterioration or leakage can occur.
However, these may not be a very difficult situations to fix and it is possible for one to do it at home, provided that the right tools are used.
Troubleshooting a not working AC may not be difficult if you have basic knowledge about AC’s. Most RV’s are equipped with AC’s from atwood, coleman, dometic or advent. We recently replaced our old ac with a Dometic Brisk II Rooftop Air Conditioner (check current price and reviews on amazon). Its an awesome product, easy to install and replace.
In this article, lets explore common issues that we face with RV air conditioners and how to troublshoot them.
Assessing the problem
When you detect that something is wrong with the Air Conditioning unit of your RV, the first thing to do is to see exactly what the problem is, in order to properly fix it. Now, it is important for you to keep in mind how old and how often your AC is used, as that can also influence the problem.
One can face varying issues with camper AC’s like “the RV ac shuts off on its own”, or the AC turns ON and OFF repeatedly or sometimes the AC wont blow cold air at all. There can be issues with the thermostat, or the capacitor in the air conditioner. So, how do you identify and repair these issues?
Read : How to install a portable Air Conditioner in a camper
AC units are complex enough and may not always be fixed by RV owners. RV AC professional becomes a must then. But, sometimes its better to understand the problem and see if you can get it fixed yourslef.
Fixing the problem
Different problems ask for different solutions. Once you have determined what is wrong with your Air Conditioner, then you can move on to fixing it. Lets check out different problems that rooftop AC on RV or travel trailer can face and how we can fix those problems.
1. The AC Does Not Turn “ON”
When you have an Air Conditioner in your RV, usually you want it to work, and so, it can be quite frustrating when it doesn’t. The first step towards fixing it is to check for battery in the remote. Although AA and AAA batteries are known to last for a very long period of time, cheaper brands can wear out sooner than expected.
Generally, changing batteries should be sufficient, but if it is not, then the next step is to check whether there is anything broken in the remote. If your remote seems to be in good condition, then a simple, yet overlooked step is to check whether the electricity in the RV or motorhome is on.
2. The Air Conditioner Blows Out Hot Air
If your AC is blowing out hot air, then the first step is to check the thermostat. If however, you set the temperature right and the AC keeps blowing out hot air, then it is possible that the problem itself is in the thermostat.
To fix this, you will need to disconnect the wires leading to the thermostat and then attach them together, bypassing the thermostat entirely. If the AC starts working properly, then it is definitely a broken thermostat, to which you will need to buy a new one.
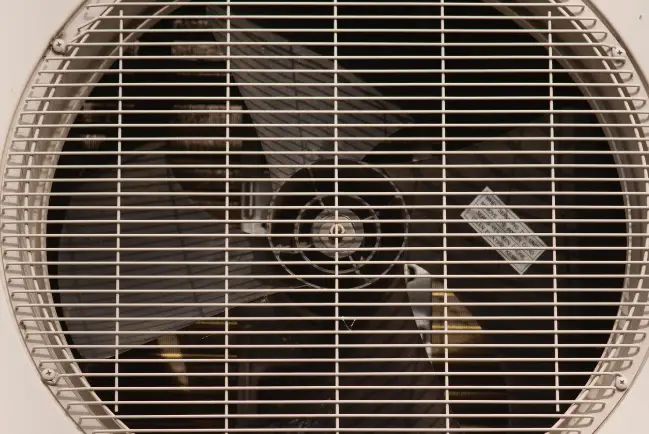
3. The Air Conditioning Unit Motor is Unusually Loud
AC units are usually very smooth and silent and so, it is easy to notice when it starts acting up and making a lot of noise. This noise is very likely caused by the fact that the rubber shock absorbers are not in their rightful place.
To fix this issue, you will need to remove your AC unit shroud, find the rubber shock absorber and make sure that they don’t brush up against the fan or compressor coils. Here is a detailed guide on how to quiet your rv ac.
4. There is Ice on Your Air Conditioner
Although it is not a very common issue, ice can appear on the outer part of your AC unit. The problem itself is related to the Freon levels in your AC unit, but it is a rather easy problem to fix. The first thing you need to do is check if there are any leaks.
If you can’t seem to find a leak, then all you need to do is to top off your AC’s Freon. Afterwards it should work well again, not producing that unwanted ice.
5. The Air Conditioner Has a Foul Smell
Air Conditioners don’t usually leave smells, but on rare occasions, an uncomfortable smell can appear. This can happen when the filters aren’t regularly cleaned or replaced. If you do clean the filters and the smell remains, then the problem comes from the radiator. To fix this, you will need to clean all the dirt. Doing that should fix the problem.
6. The AC doesn’t stop running
If you notice that you try to turn off your AC unit, but it keeps running, then you will have to fix it right away to prevent damaging of the machine or decrease in longevity. There are a few reasons as to why your AC unit won’t turn off. First, it could be a busted thermostat, in which case you will have to replace it with a new one. If that does not appear to be the issue, then the circuit board could be affected, and so you will have to hire a professional.
7. The Air Conditioner is Leaking
Leaking is a common problem when it comes to Air Conditioners in Recreational Vehicles. Checkout my previous post on how to fix leaking RV air conditioner. Here, it is important for you to check whether it leaks when the AC is on or when it rains, and maybe even if it leaks in both situations.
Now, Air Conditioners are sealed to the rooftop of the RV with a rubber gasket. This gasket is usually very low-maintenance and so will require little attention. Nevertheless, if you start noticing that there is a leak, then you definitely should try to fix it as soon as possible, before it becomes a long term problem.
That being said, the first step towards fixing it would be to verify if the rubber gasket is intact. To do this, you will need to check whether there is at least) half an inch of height in the gasket between the Air Conditioner and the RV itself. If the rubber gasket really is the problem, then you will need to replace it with a new one.
Here, you can either hire a qualified RV air conditioning specialist or do it yourself. If you wish to do it yourself, then you will need a few tools:
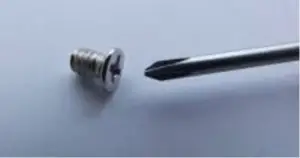
- Screwdriver
- Wire cutter
- Knife
- Rubbing alcohol
- Cloth
- New gasket
Once you’ve gathered all the necessary tools, then you can move on to fixing it. We carry this Black and Decker RV toolkit (amazon link) in our rig, it has most basic tools. That’s very helpful in fixing and installing appliances on RV.
Step 1
First of all, you will need to remove the outer part of your AC, also known as shroud, in order to reveal its inner parts. After this is done, you will have to locate the bolts and remove them, placing them in a bag, so that you’ll find them easily when needed. Then you should carefully remove the shroud and set it aside, where you can easily reach it later.
Step 2
The next step is to remove the Air Conditioning unit from the roof, as it will be much easier to work with. Remove the screws that hold the AC unit to the rooftop of your RV and set them aside. Then, you will need to observe whether there is an electrical connector and, if there is, what sort of connection there is.
Before cutting the three wires attached, you will need to make sure that the power is disconnected. Once it is disconnected, then you can proceed to cutting the three wires with a pair of cutters. After that, removing the Air Conditioner should be pretty easy, but be careful not to scratch the paint of your RV. Also, be vary of the fact that rv roofs support weight upto certain limit and therefore be careful when climbing up there.
Step 3
Once the Air Conditioning unit has been removed from the rooftop, you can pull out the old rubber gasket and throw it away. If the rubber gasket is either stuck or hard to remove, use a knife to remove it.
Make sure that you remove all of the remaining residues and clean the entire rooftop with rubbing alcohol.
Step 4
Moving on to the next step: Placing the new rubber gasket. On this step, you will need to return the AC unit to its rightful place, over the new gasket and reattach it, using the right tools. You will need to reconnect the wiring harness and then reattach the shroud.
Step 5
Once your work is done, you will need to verify if everything is working properly. To do this, you should use a water hose to lightly spray the AC unit while it is running, and then check if there are any leaks.
Related Reading : Consider this before buying a RV Air Conditioner
Tips For The Future
Air Conditioners are practical and useful devices, but they do need some sort of regular maintenance, in order to function properly. Whether you own a class A motorhome or a fifth wheel or a small pop up camper, air conditioner are very important while camping.
That means that if you don’t wish to buy a brand-new AC unit every few years and don’t want to spend unnecessary money on air conditioning repair specialists, that you will have to dedicate some time to make basic maintenance a part of your routine.
Maintaining your Air Conditioner can be done in four easy steps:
1. Protect from all elements
First of all, you need to protect your AC unit from all the elements. That means you should cover it when you are not using it. There are many covers out there for the buying and they are very easy to apply to your AC unit. This might seem like an expendable step, but it will protect your AC from dust and dirt.
2. Maintain and service the fan
The second step is to oil your Air Conditioner’s fan. It will run much more smoother if it is properly oiled. Note that every AC is different, and so, you should reach for your manufacturer’s instructions, to ensure that you do it properly.
You should buy a high quality oil that is detergent-free, such as automotive motor oil, as cheap oils might wear out faster and could leave residues that could later on become a problem.
3. Inspect the AC Condenser
Step number three involves inspecting the condenser of your AC unit. This step is important, as its coils will provide you with the cooling you seek in the hot summer days.
It is important to occasionally check the condenser as it can accumulate dirt, dust and other debris (as it is exposed to the elements).
4. Air Out roof vents
This last step is a considerably important one, if you wish to keep excessive moisture away from your RV’s Air Conditioning Unit.
In order to do this, you will have to air out the roof vent. It is quite an easy step and it will help you avoid a lot of unwanted and unnecessary issues.
Related Read : How to keep your RV or travel cool without Air conditioner
Conclusion
Your RV Air Conditioner is an important component, but you can’t expect it to last for a lifetime, especially when left uncared for. Many of the issues that can occur in your AC unit can easily be fixed without the aid of professionals, so long as you get informed on how to fix it.
You should establish a schedule to help you know when to do a little cleaning and maintenance. The only thing you should always keep in mind is that all sorts of maintenance should be done while your AC unit is not running.