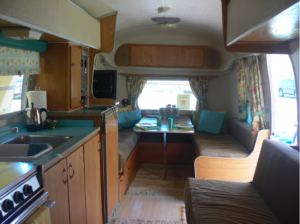
RV’s are great way of traveling and camping. One can enjoy the travel with a comfort like home. Nevertheless, it can get very hot and very cold at times and so, you will find that owning an Air Conditioning unit might just be the perfect idea.
Having said this, most modern RV’s come equipped with ACs. But not all though, specailly if you own an older one or a smaller RV like pop up camper. Even smaller travel trailers or truck campers may not always have roof top air conditioners on them.
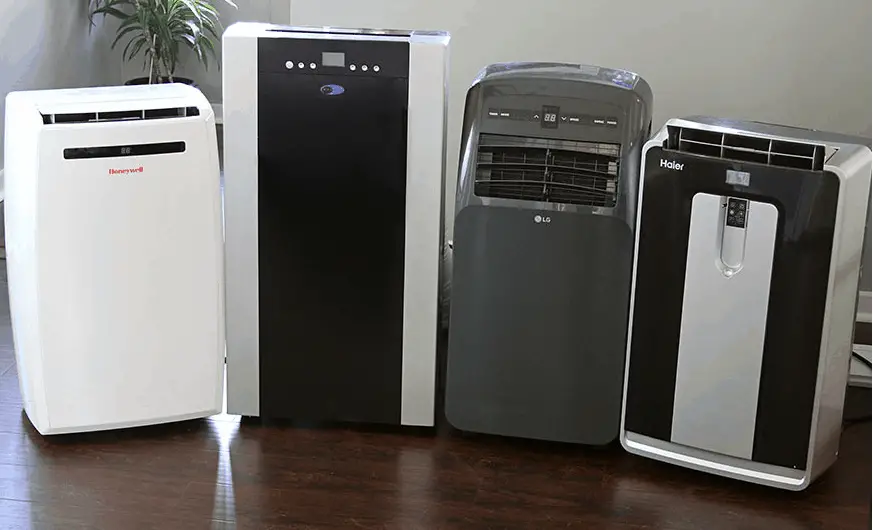
So, what do you do when you can’t get a roof top air conditioner? Get a portable one !
In this article, you will learn how to install portable air conditioner in an RV. So if you don’t have an AC unit or if it isn’t working and needs to be replaced, then just know that it is quite a simple task, one that you can do by yourself, without having to require professional assistance.
Step 1 – Get an AC as per recommendations
The first step in installing an Air Conditioning unit in your RV is obiviously to buy one. For this part, you might want to check your RV’s owner’s manual for any sort of information regarding AC units. Usually the manual will provide information on what type of Air Conditioner works better and will also help you determine good brands.
Step 2 – Get the right set of tools
Now that you’ve bought a new Air Conditioner for your camper trailer, it is time to start the installation procedure. The first step is to get the proper tools that you will be needing to install the AC unit. For this part, you will need:
- Air conditioning unit
- RV owner’s manual
- AC owner’s manual
- Rubber Gloves
- Screwdriver
- Wire cutter
- Knife
- Sealant
Step 3 – Switch off the power
Once you have gathered all the necessary tools and items, you can move on to the next step: turning off the power. Do not forget to turn off the power, as you will be handling wires from which the electricity runs and you might end up getting an electric shock. Do not undermine this situation as you will be dealing with live wires.
Step 4 – Identify proper location
If you already had an Air Conditioner in your RV, then this step is not needed, but in case you didn’t already have one in your RV, then the next step is to determine the best location on which to place your air conditioner.
In this step it is important that you choose a strong place that can hold the AC unit without damaging the RV. There should also be about 8 inches of space between the Air Conditioner and the edge of the roof or wall.
This is because you might eventually need to get on top of the RV’s roof for maintenance and it is also important to do as it will make the Air Conditioner more stable and less likely to loosen up and fall off.
Step 5 – Make holes and mark drilling locations
If you’ve established the perfect spot for your AC unit, then it is time to create a hole on the roof or wall that is big enough to fit the wires between the ceiling and the Air Conditioner.
This should not be done mindlessly, as the hole needs to be a snug fit. The ideal is for you to previously mark the right location and shape of the hole beforehand. Cease this opportunity to also mark the locations where you will be drilling the mounting bolts.
If the AC is going to be insatlled on roof then be sure to remember RV roofs can hold upto certain limit and thus make sure you aren’t putting too much weight. Similarly if its going to be window air conditioner then be sure to check on how much weight windows can support.
Step 6 – Secure AC with bolts
Once the holes have been properly cut, it is time to mount the exterior part of the Air Conditioner over the roof or wall. Then, carefully place the AC unit on the roof or wall and secure it with the proper bolts on the marks you’ve previously made. Once that is done, move on to the interior part of the AC unit, installing the bolts into their rightful place.
Step 7 – Apply sealant in gaps
Now that the Air conditioner is placed in the right spot, you can move on to sealing it. Apply the sealant to the parts where the Air Conditioner meets the metal of the RV. By doing this, you will not only be stabilizing your AC unit but also protecting it from the wear and tear of time and weather adversities.
Step 8 – Make wire connections
The AC unit is up on its rightful place, but you will still need to do the wire connections, in order for it to actually work. The Air Conditioner should come with instructions telling you which wires connects with what, but usually the wires are coded by color, so it should be fairly easy to match. That means that blue wire meets blue wire, black to black, and so on, until they are all connected.
Step 9 – Plug and power ON
Most of the work is done by now, so this last step is quite a simple one. All you need to do is plug the AC unit and turn the power back on. Once the power is up and running, you can then test whether the Air Conditioning unit is working properly.
The AC should now be fully operational. The recommendation is that you keep the AC unit box and manual at least until the warranty is spent, that way, if you run into any issues with your new Air Conditioner, you can easily get if fixed at no cost at all. Last but not least, you should read the full AC’s owners manual, in order to learn all the functionalities of your new RV device.
How big AC you need for your RV
An air conditioner is measured in BTU. Bigger the area to be cooled bigger is the BTU required. For a bigger RV like class A motorhome, a bigger-sized AC like 13,500 BTU would be needed. A smaller travel trailer on the other hand can do with a 5000 BTU or 7000 BTU AC.
Its important to get the right-sized AC for your RV as otherwise your RV will either be not cooled or your watts requirements may exceed. RV air conditioner is the appliance that consume the most power hence be sure to get the right-sized AC.
Some of the best portable AC brands you can get for your RV are as below.
- Honeywell MO Series
- SereneLife
- Edgestar
- HomeLabs
- Whynter


