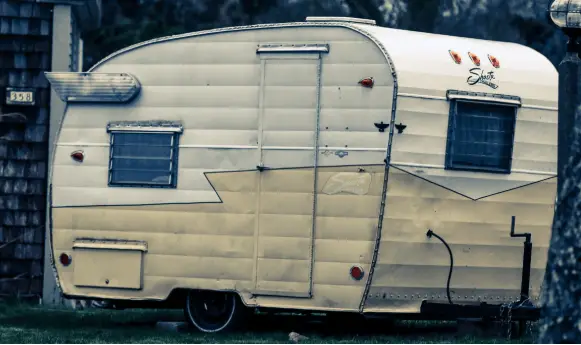
Motorhome or RV owners usually take great pride and joy in them. They Appreciate the whole experience of having a “mobile home”. And those who do the proper maintenance, hardly ever run into problems. This is the best approach, as it is an essential process that will ensure that your RV will run smoothly for a long period of time.
However, even with all the care possible, aging and other factors will at some point erupt a leak in your RV.
Water damage in walls is worst. It can lead to several problems including health issues.
Repairing RV walls
Lets see step by step procedure for repairing RV walls.
Step 1 – Acknowledge What Needs to be Repaired
The first step in repairing RV walls is to assess which walls need to be repaired. But, in order to do that, you will first have to remove everything that might difficult your access to the walls. That includes cabinets, furniture, hanging racks and even those separation curtain rails.
If you’ve applied any sort of wallpaper to embellish the RV’s interior, then you might need to peel it off, as it may prove difficult to see the leaks, dents and rotten walls with it glued to the walls. RV walls can get damaged due to various reasons. Water damage to RV walls is more common. RV walls repair or any interior damage repair cost can vary a lot and totally depends on how much is the damage.
Delamination is a common problem in campers. I recommend you check out this detailed guide on identifying, preventing and repairing delamination.
Step 2 – Locate All of The Pipes And Electrical Wires
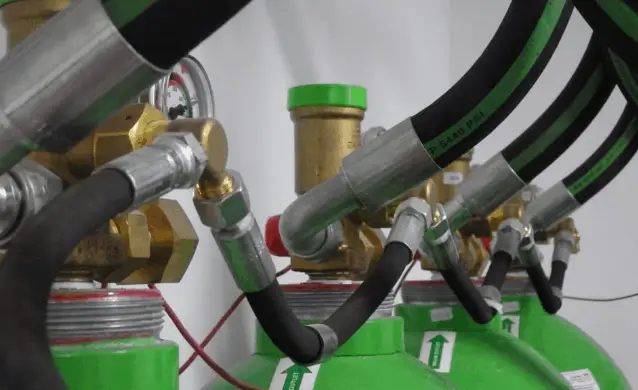
While you are in the process of checking which walls need to be mended, it is highly important that you locate all the pipes and electrical wires in your motorhome or RV.
If you encounter any pipes, you will have to temporarily reroute them so that they won’t be damaged when you repair the walls. If, however, you find yourself looking at a bunch of electrical wires, you will need to turn the power off and disconnect them temporarily.
By doing this, you will be avoiding further issues, such as burst pipes or cut wires.
This might be a good time to check whether the plumbing is fully functional of ir it needs to be replaced with a new alternative.
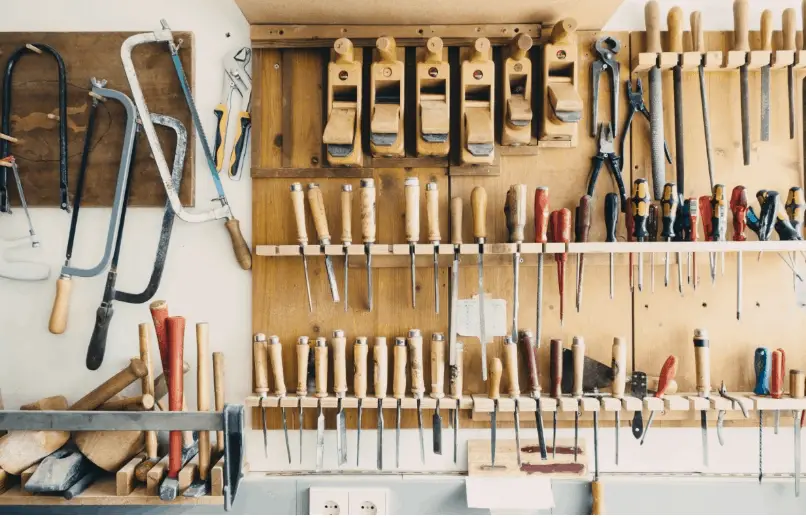
Step 3 – Get The Necessary Tools
Once all the previous steps are completed, you will have to get yourself all of the necessary tools, in order to properly fix the walls, without risking damaging them any further. Remember knowing RV walls material is crucial.
RV manufacturing can be done using materials like wood, aluminium, fiberglass, rubber. Many times combination these different materials is used for different components of RV or camper. Roofs for example are either rubber or fiberglass made.
Read : Tips to protect your RVs Roof
The tools you will be needing are, first of all, protective wear. This process isn’t a very complicated one but it is always better to prevent incidents and injuries. More than body protection, you will be needing a breathing mask, to ensure that you don’t breathe in harsh particles or residues, that can lead to health problems.
Next, you will need a carpentry toolkit, as it contains many useful tools that will make your task much easier, plus you can keep it in the RV during your travels, in case of unexpected incidents. Another item you should buy is replacement panels, as you won’t be fixing much if you don’t have them.
You will also be needing some epoxy wood hardener. Last but not least, you should consider buying or lending a sanding machine. If you can not afford one or do not believe it is needed, you can opt for sandpaper, though it will take quite a while longer to get the work done.
Step 4 – Start by Using The Epoxy Sealer Wood Hardener
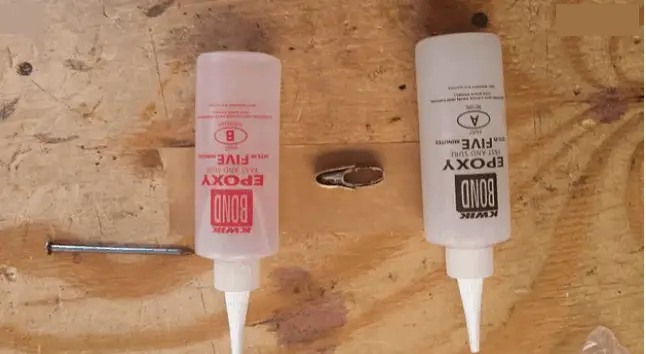
Once you’ve cleared out the pipes and electric wires from the walls you are going to fix, you can then move on to using the epoxy sealer wood hardener. This part is meant for camper’s that have rotten or rotting wooden walls or wooden panels. The product usually contains a usage instructions guide book to help guide you throughout the process.
Step 5 – Removing unrepairable Walls
If the wooden walls or panels are beyond saving, then you might want to consider removing them and replacing them with a better alternative material, like thin styrofoam and luan. Luan is a soft plywood that can be stained or painted to fit your style. As it is a very thin material, it can be easily curved into the curved shapes of RV’s ceilings and walls.
Nevertheless, if you prefer to remain with the same wood style panels, you can buy new ones. Just pay attention to the materials and benefits of each panel before making your purchase.
Step 6 – Time to Use Your Sanding Machine
Once you have finished repairing all of the damaged walls, you can then move on to the next step. Grab the sanding machine or sandpaper and smooth the edges of each new panel or sealed panel. This is needed in order for them to match the surrounding walls that were not changed.
Read : RV Roof Maintenance for beginners
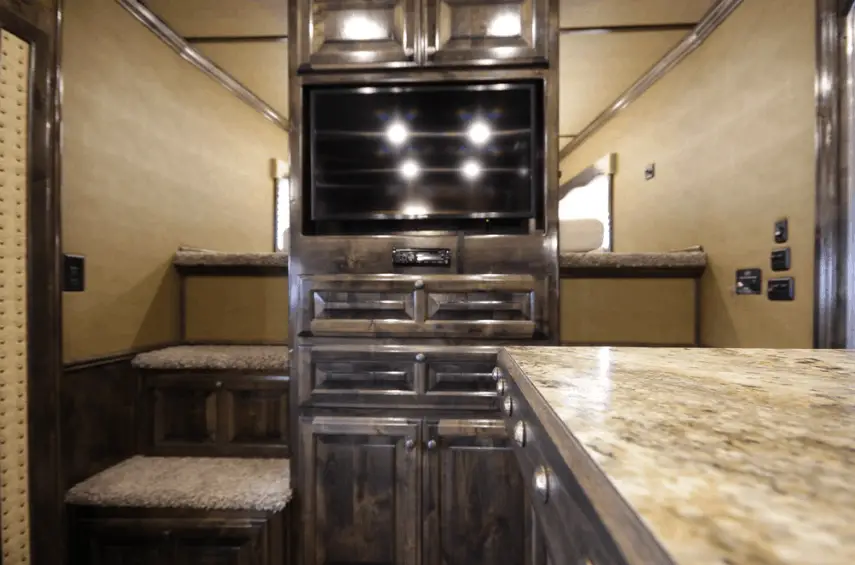
Renovating the RV walls and interiors
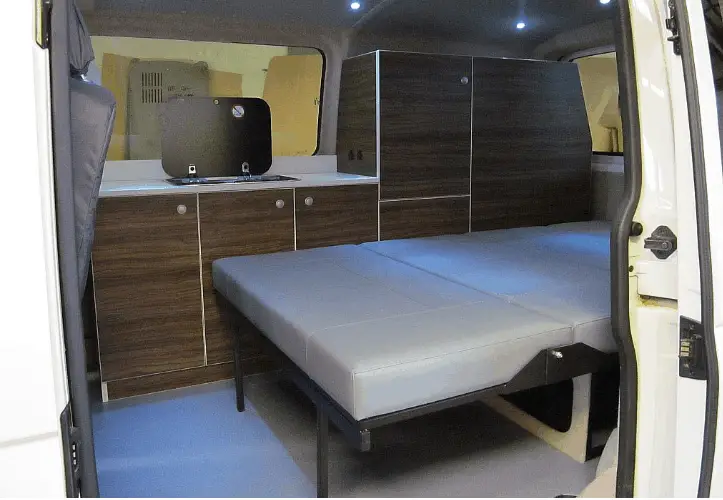
Fixing RV or travel trailer walls and doing renovation of the RV or camper trailer can be fun at times. Many times people renovate the RV to get a new feel. Full time living people are the ones that are mostly interested in this. Here are few ideas that you can do to renovate the walls and interior of RV.
- Get better carpet. That makes a great difference.
- Installing wallpapers on the interior walls.
- Use window curtains that suit your interior theme
- Paint the RV walls, that can make it look fresh and new
- Replace floor and renovate plumbing items.
Conclusion
Unmanaged RVs and motorhomes will usually result in a damaged vehicle with poor conditions. These Recreational Vehicles are made to last for many years. But, they do need to be well maintained, in order to keep things running smoothly.
This means checking for leaks in both the walls and roof, it means keeping an eye out for ladder mount points and the amount of cargo you set on your RV’s rooftop (as it can scratch and slowly damage the roof, resulting in leaking).
It is highly recommended that you establish some sort of maintenance check schedule. This will help you make sure that there is no room for error.